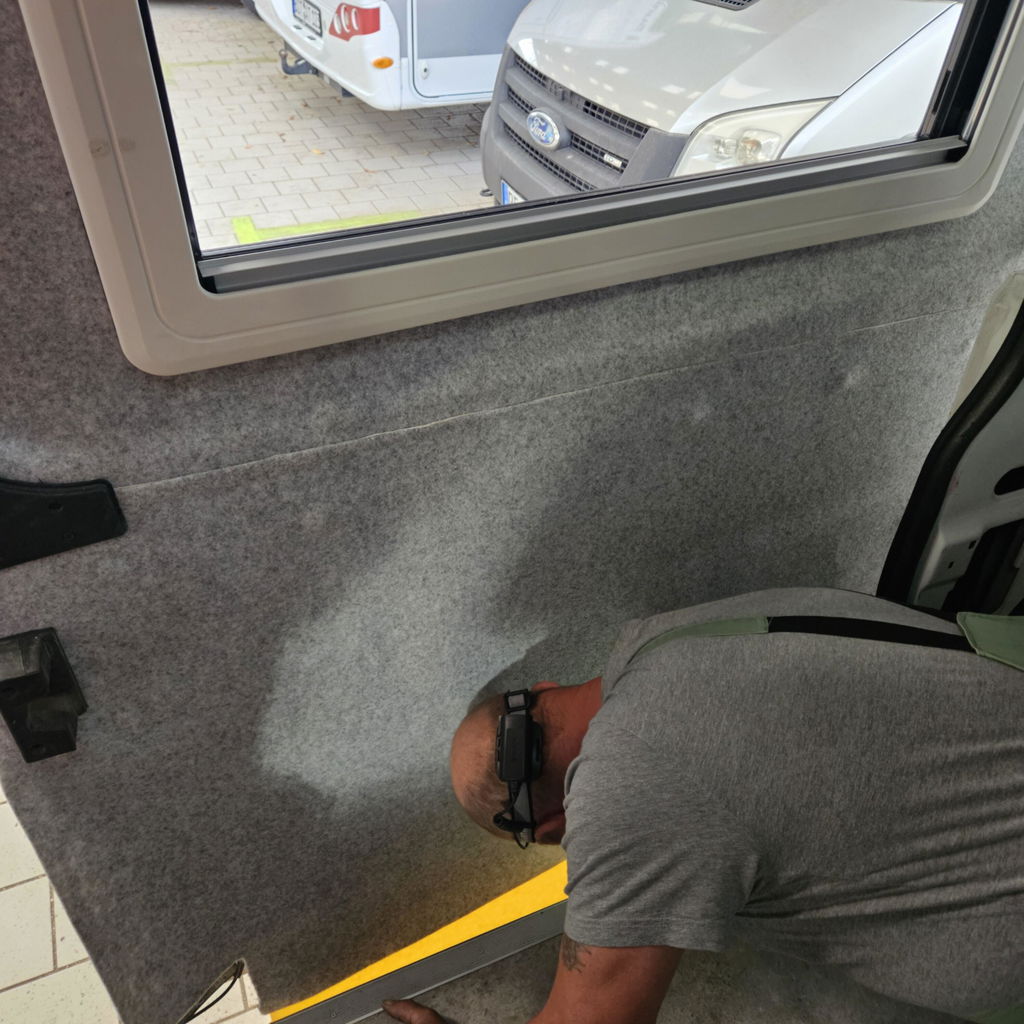
Camper Felt Without Adhesive
Durable felt for high-traffic areas in Campervans and vehicle interiors.
- Easy to care for and durable
- Flexible choice of adhesive
- Made in Germany



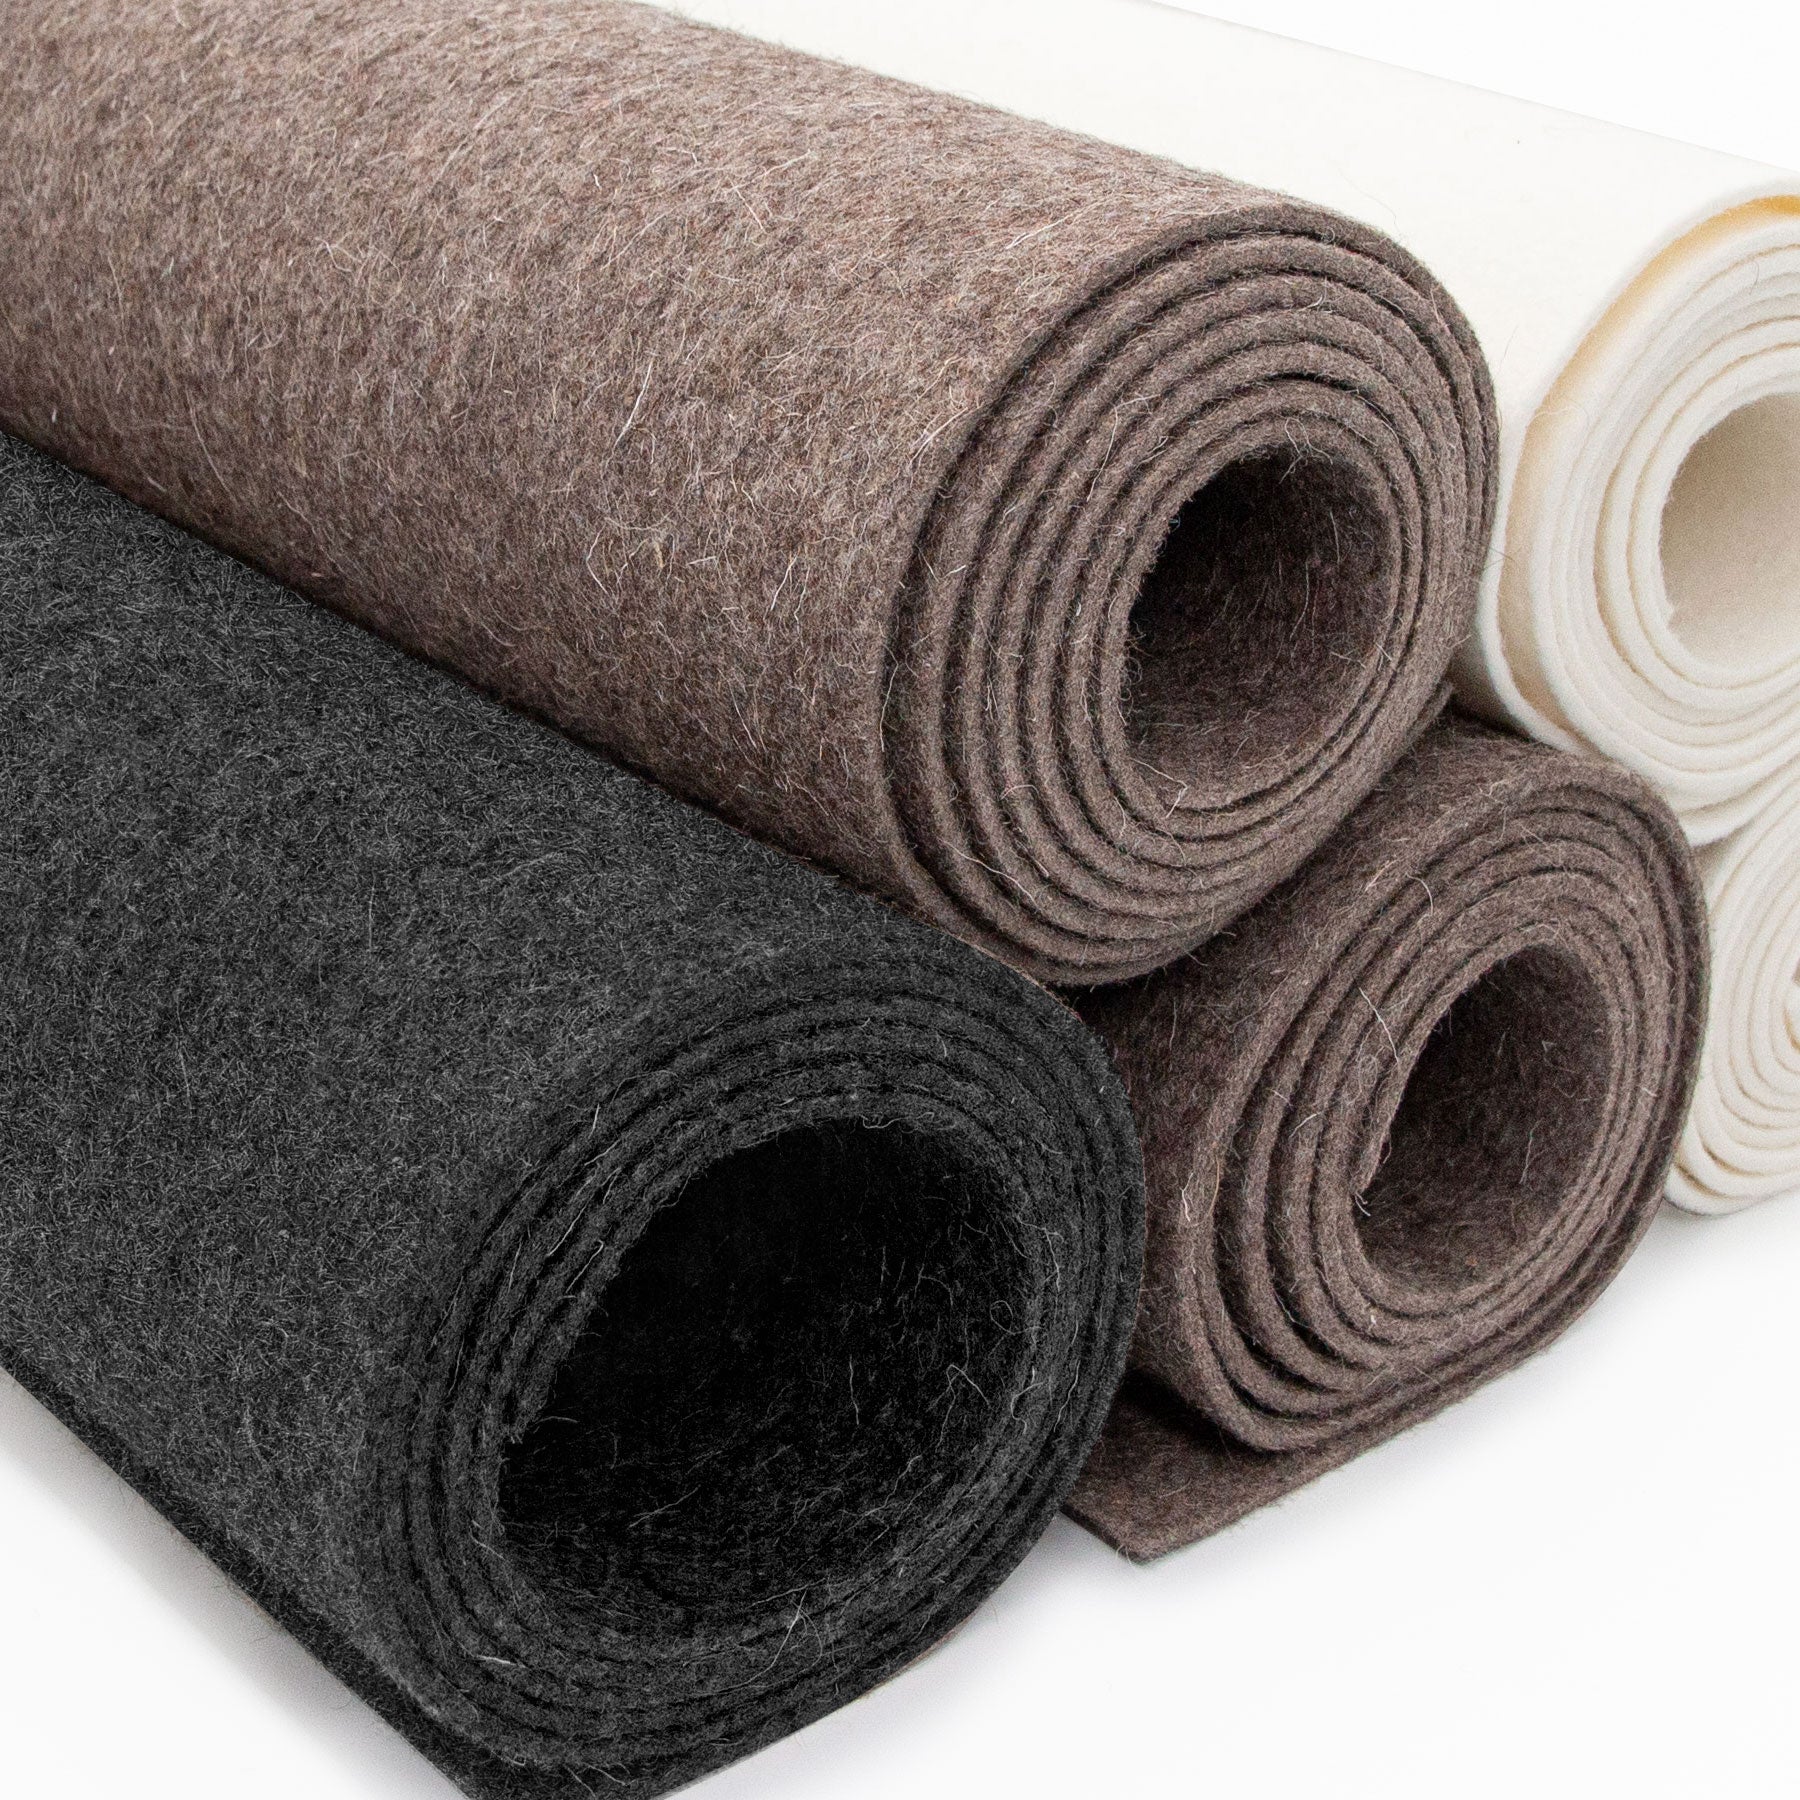


Compare the different options based on application, material, and finish, and choose the right camper felt. Available in self-adhesive or classic non-adhesive versions.
Durable felt for high-traffic areas in Campervans and vehicle interiors.

The sturdy classic for anyone who wants to work quickly and neatly.

Natural felt for a high-quality, cozy camper interior.

Wool felt with an adhesive backing—for a natural, cozy feel and easy installation.
Both materials are ideal for camper conversions. The main difference lies in their intended use.

The right choice if you're looking for a durable, low-maintenance, and hard-wearing surface for your van conversion.

The right choice if you want your camper to feel more like a home—natural, high-quality, and comfortable.

With the sample set, you have everything you need right at your fingertips. See the quality for yourself and take your time choosing the right material and color.
When it comes to felt, it's not just the color that matters. The thickness of the material also determines the final result. Felt needs substance to fully develop its unique properties.
Very thin felt tends to flatten out more quickly and provides less comfort in the cabin.
Substantial enough to ensure excellent appearance, acoustics, and comfort, yet flexible enough to serve any purpose.
To the Product SelectionVery thick felt can add unnecessary weight and be more difficult to install on curved surfaces.

Camper felt is suitable for large surfaces, curved areas, and many interior trim applications in vehicles. It is particularly useful wherever sheet metal, wood, or insulation needs to be covered in a clean, comfortable, and durable way.

For large interior spaces that you want to make feel cozier, calmer, and cleaner.

To create a more pleasant sense of space in the living, sitting, and sleeping areas.

For contours, edges, and shapes that are difficult to cover with rigid material.

For side, rear, and door panels with a clean finish in vehicle interior trim.

For cabinets, trim, panels, and custom-finished interior surfaces.

For durable surfaces that are subjected to heavier use in everyday life.

Many customers use felt not only in campervans, but also in vehicle construction, boats, commercial vehicles, or for custom interior trim.
Camper felt can be installed neatly with a little preparation. It is important to have a suitable surface, cut the felt precisely, and press it down evenly—especially along edges, curves, and transitions.

The surface should be clean, dry, dust-free, and grease-free so that the felt adheres properly.
Here's how: Vacuum or wipe away dust, clean the surface with a lint-free cloth, and use a suitable degreaser for grease, silicone, or adhesive residue. Then let it dry completely.

First, cut the felt so that it extends slightly beyond the edges. This leaves enough room for adjustments.
Here's how: Measure the area roughly, allow for 3–5 cm of extra fabric, and cut the felt to size on a clean work surface using a sharp utility knife, scissors, or a steel ruler.

Align the material neatly before pressing it into place — especially along curves and edges.
Here's how: First, hold the felt up against the surface without applying adhesive, check the edges and openings, and align it piece by piece around wheel wells or curved areas. Only when everything fits properly should you begin gluing it in place.

With self-adhesive felt, peel off the protective film piece by piece. Work slowly and carefully.
Here's how: Don't remove the entire film at once. Start at one edge, peel back the protective film in sections, and carefully position the felt.

Press the felt down carefully. Take special care to work neatly along edges, corners, and curves.
Here's how: Work from the center outward using your hand, a pressure roller, or a squeegee. Press down firmly several times on edges, corners, and curves.

After bonding, the surface should not be subjected to heavy loads immediately, if possible, so that the bond can set properly.
Here's how: Do not pull, apply pressure to, or bend freshly bonded surfaces immediately. Ideally, let them rest for 24 hours and then check the edges again.
Here are the key points to consider if you're still deciding between 4-way stretch lining felt, wool felt, self-adhesive felt, or felt sold by the meter without an adhesive backing.
4-way stretch lining felt is the durable, low-maintenance, and practical choice for many DIY interior projects. It’s particularly well-suited for high-traffic areas, wheel wells, storage compartments, doors, and functional interior trim.
Wool felt is made from natural wool and has a higher-quality, cozier, and more natural look and feel. It is breathable, helps regulate the climate, and is particularly well-suited for creating a more comfortable camper interior.
If you want a quick, durable, and as simple as possible installation, 4-way stretch lining felt is usually the right choice. If you want to create a particularly high-quality, natural, and cozy interior, wool felt is a better fit.
Self-adhesive camper felt is especially convenient when you want to work quickly and neatly. The adhesive layer is already built in, so you don’t need any additional spray adhesive.
Felt without an adhesive backing is ideal if you want more control over the installation process or if you’d like to use your own adhesive solution for your surface.
3 mm is a good compromise between thickness, workability, and weight. Felt that is too thin tends to flatten out more quickly and offers less comfort. Felt that is too thick can be harder to work with and add unnecessary weight to the vehicle.
Camper felt can reduce road noise, echo, and vibrations in the cabin and make the acoustics more pleasant. However, it is not a substitute for technical sound insulation; rather, it serves as a functional and aesthetic surface finish.
Camper felt enhances the sense of space and can contribute to comfort as an additional textile surface. However, it is not a substitute for technical insulation such as Armaflex or similar insulation materials.
The substrate should be clean, dry, dust-free, and free of grease. Suitable surfaces include many load-bearing materials such as wood, metal, glass, rigid PVC, ABS, Armaflex, and similar building substrates.
For difficult substrates such as PP, PE, silicone, Teflon, or heavily textured surfaces, we recommend performing a test installation.
The felt adheres immediately after being pressed into place. However, the adhesive layer does not reach its full final strength until some time has passed. Therefore, the surface should not be subjected to heavy loads immediately after bonding.
Yes. Camper felt can be shaped to fit contours, wheel wells, door frames, edges, and irregular interior surfaces. Work slowly, apply even pressure, and proceed section by section when working on larger areas.
Yes. Wool felt can absorb moisture from the air and release it later. This helps create a more comfortable indoor environment. Nevertheless, the camper should be ventilated regularly.
For routine cleaning, gentle vacuuming is sufficient. Light stains can be removed with a slightly damp cloth. Take special care when cleaning wool felt.
If you're unsure about the color, texture, material, or adhesive option, a sample set is a good idea. This way, you can compare 4-way stretch lining felt and wool felt directly in your vehicle before purchasing by the meter.
With the right tools, the appropriate adhesive, and proper storage, camper felt can be installed more neatly and used reliably for a longer time.

A sharp utility knife is best for straight cuts. For minor adjustments, curves, and details, a good pair of household scissors can be helpful.

For felt without an adhesive backing, you can use a suitable spray adhesive, such as Würth Kraftsprühkleber Plus. Always follow the manufacturer's instructions and test the product on an inconspicuous area first.
Affiliate Disclosure: We receive a small commission when you make a purchase through this link.
Store the felt in a dry, clean place at room temperature. Avoid direct exposure to moisture, extreme heat, and prolonged pressure.
Now that you know what matters when it comes to materials, workmanship, and intended use, choose the option that best suits your project.
To the Product Selection